Skip to product information
1 of 30

SHINIER

Interlocking Garage Floor Tiles (set of 25) Indoor & Outdoor

Interlocking Garage Floor Tiles (set of 25) Indoor & Outdoor

Regular price $110.00 USD
Regular price $160.00 USD Sale price $110.00 USD
Sale Sold out
Shipping calculated at checkout.

Introduction

  • Introducing the Interlocking Floor Tiles/Mats, designed for Garage, Patio, Balcony, Gym, Showroom, Car Beauty Shops. Indoor and Outdoor.
  • They are made of durable, thickened, pressure-resistant polypropylene for durability. These tough, ventilated tiles often used in showrooms and garages with heavy traffic.  
  • These are modular floor tile designed to snap together without adhesives. They sit directly over your existing concrete slab and can be installed without special tools. With non-slip design and drainage capabilities, these mats provide both safety and convenience for car maintenance.

 Specifications

  • Color: Black, Red, Yellow, Green, Blue, Grey
  • Price is for one box, which comes with 25 pieces of tiles of the same color
  • Each tile covers about 1.7 square feet
  • Each box covers about 43 square feet
  • Typical single-car garage needs 6-8 boxes
  • Typical two-car garage needs 12-18 boxes
  • Dimension of each tile/mat: 15.7 X 15.7 X 0.7 inch
  • Weight of each tile/mat: 1.32lb
  • Dimension of each box: 17 X 17 X 18 inch
  • Weight of each box: 33.07lb
  • Load capacity: more than 1400 lb/sq ft
  • Large-diameter leak holes can easily take away large particles of sediment without causing congestion.
  • Anti-slip, compressive and wear-resistant.
  • Surface with exquisite anti-slip texture and strong wear resistance.
  • Beautiful and high quality color paste.
  • The spliced grilles of various colors can be combined and matched at will.
  • Environmentally friendly material, the selected polypropylene PP material is stable in molecular structure, healthy and environment friendly. Resistant to aging.
  • Disassembly and assembly are simple and easy, and comes with buckles for splicing

Reasons For Purchase

1. DIY-Friendly Installation

  • No glue, nails, or chemicals required.
  • Tiles click together with a mallet or by hand.
  • Can be installed in hours — a full 2-car garage in a day.

2. Easy to Replace or Move

  • You can swap out damaged tiles individually.
  • If you move, you can take the tiles with you.

3. Covers Cracks and Ugly Concrete

  • Tiles hide imperfections like cracks or stains.
  • No need to repair the underlying concrete unless it’s severely damaged.

4. Customizable Look

  • Wide range of colors, textures, and patterns.
  • Mix and match for checkerboards, borders, or logos.
  • Common surface patterns: diamond plate, coin, ribbed, smooth.

5. Durable and Chemical Resistant

  • Withstands cars, tools, light machinery.
  • Oil, antifreeze, and household chemicals don’t damage quality tiles.

6. Provides Insulation and Cushioning

  • Slightly insulates against cold and dampness from the concrete.
  • Softer underfoot if you use your garage as a workspace or gym.

Ideal Use Cases

  • Residential garages (1-car, 2-car)
  • Home workshops
  • Multi-purpose garages (gym + parking)
  • Rental properties (non-permanent upgrades)
  • People who want style and comfort over industrial durability

How To Install

 Tools & Materials Needed

  • Rubber mallet (optional but helpful)
  • Tape measure
  • Utility knife or jigsaw (for trimming tiles)
  • Straightedge or T-square
  • Broom or shop vacuum
  • Chalk line or marker (for layout)

📋  Step-by-Step Instructions

1. Clean and Prepare the Floor

  • Sweep or vacuum thoroughly.
  • Remove dust, dirt, oil, or loose debris.
  • The floor doesn’t need to be perfectly smooth, but fix any major holes or sharp bumps.

💡 Optional: If your garage is damp, consider laying a moisture barrier (plastic sheeting or underlayment).

2. Plan Your Layout

  • Measure the garage and decide where you want to start laying tiles.
  • Most people start from the garage door or a front corner.
  • Dry-lay a row of tiles to see how they’ll fit and whether you’ll need to cut edge tiles.

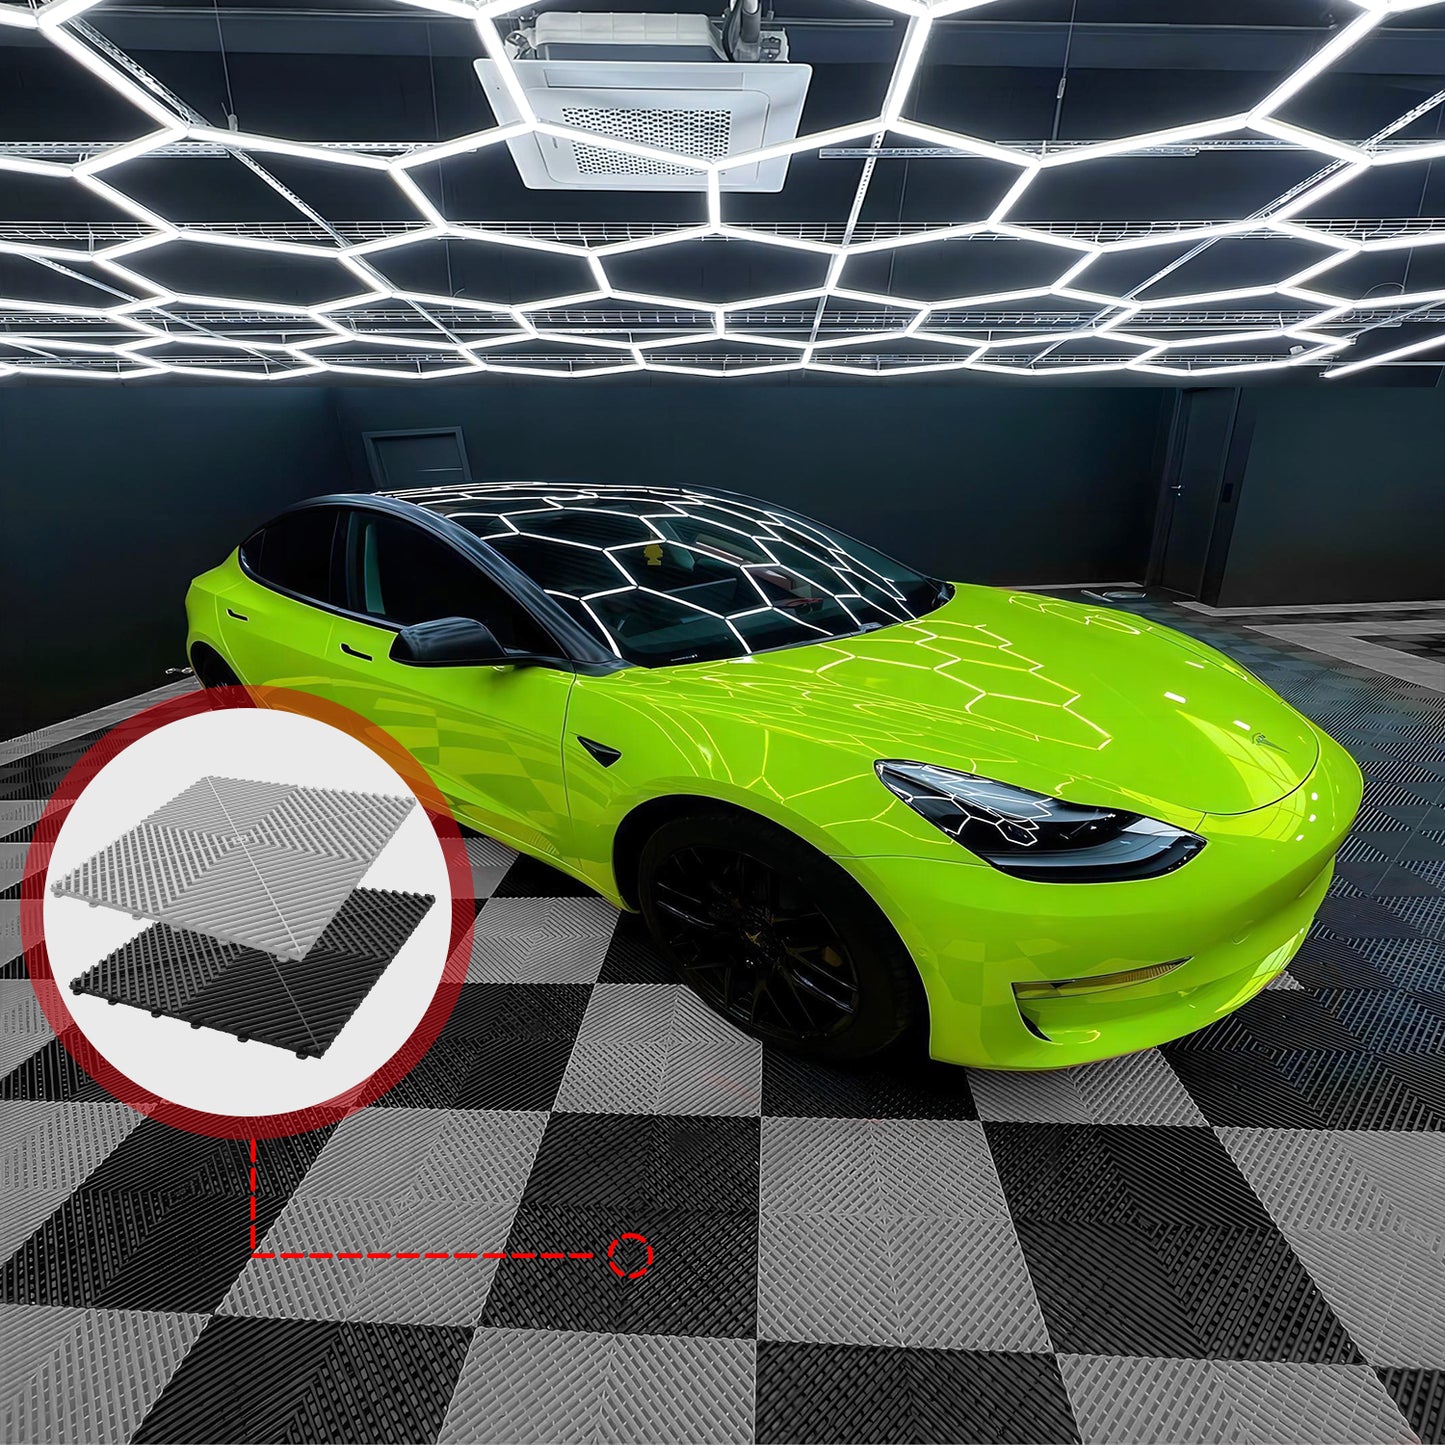
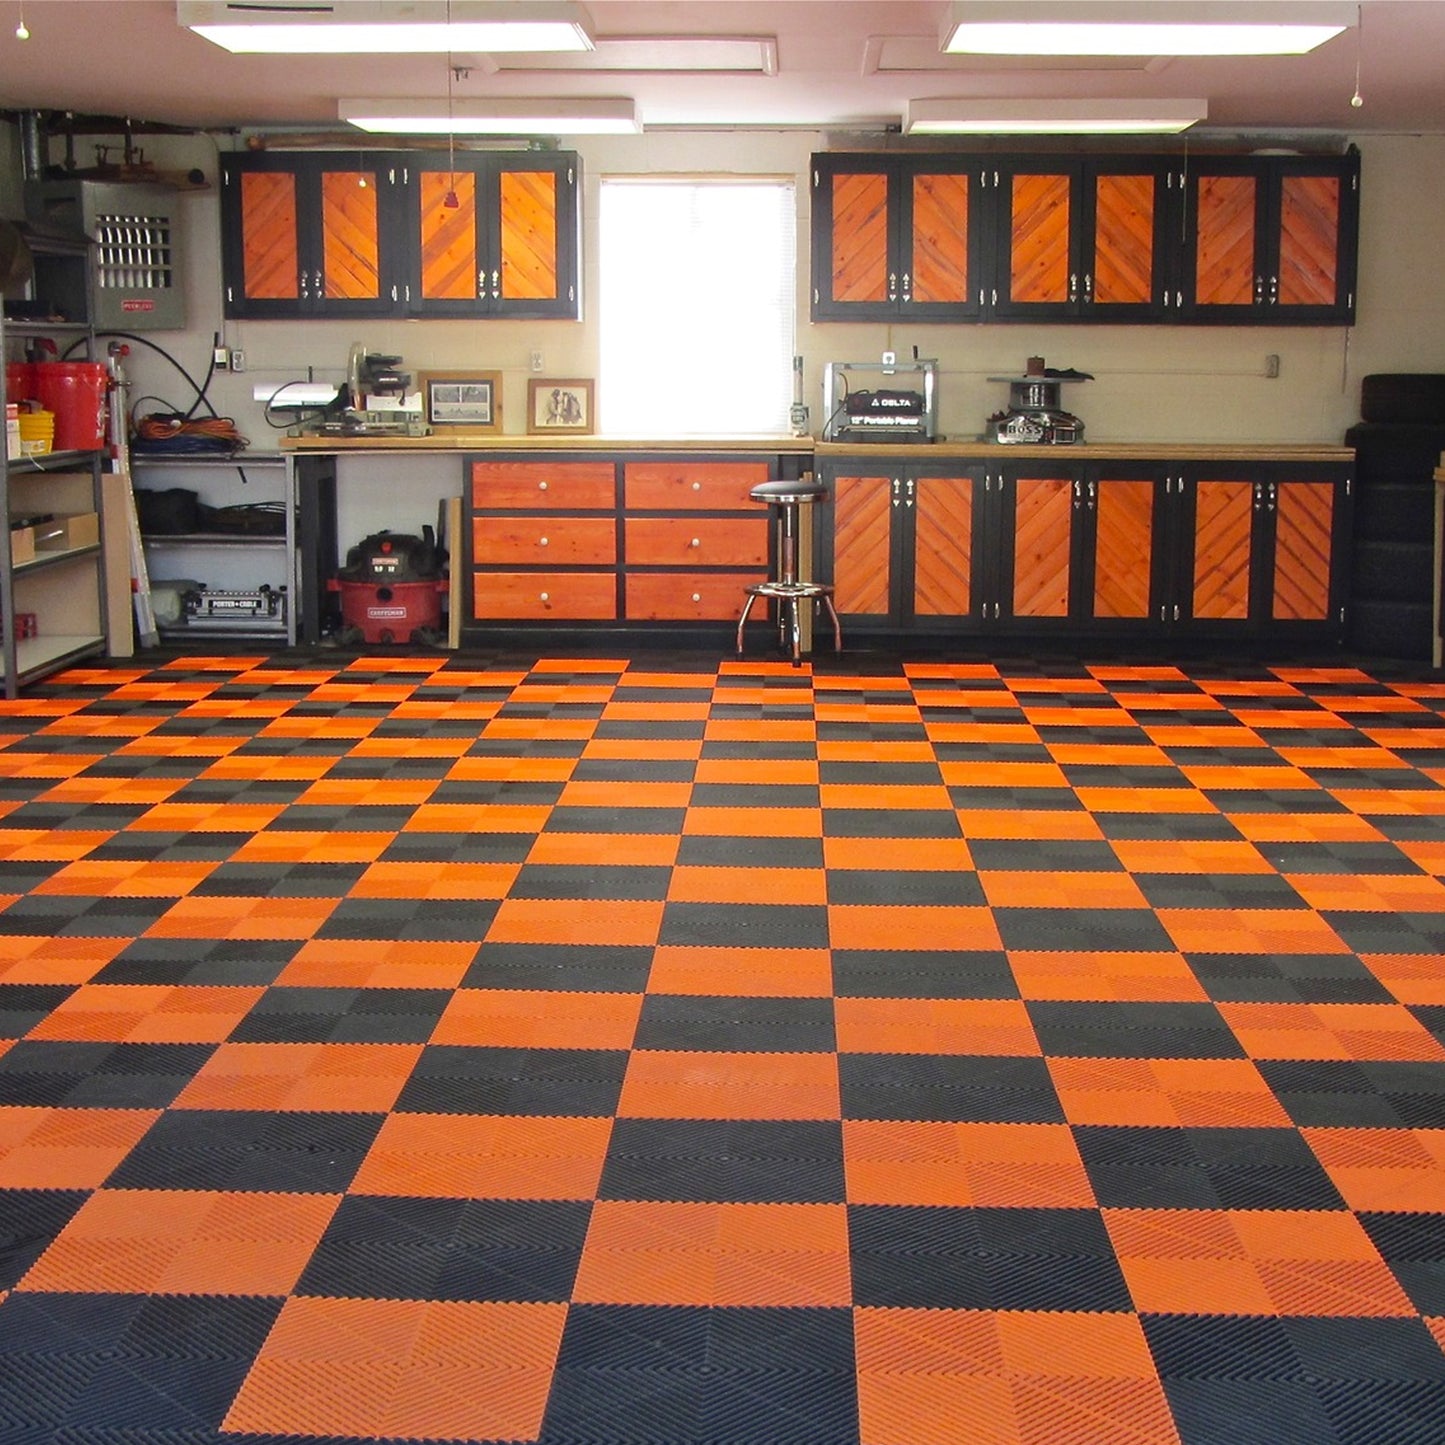
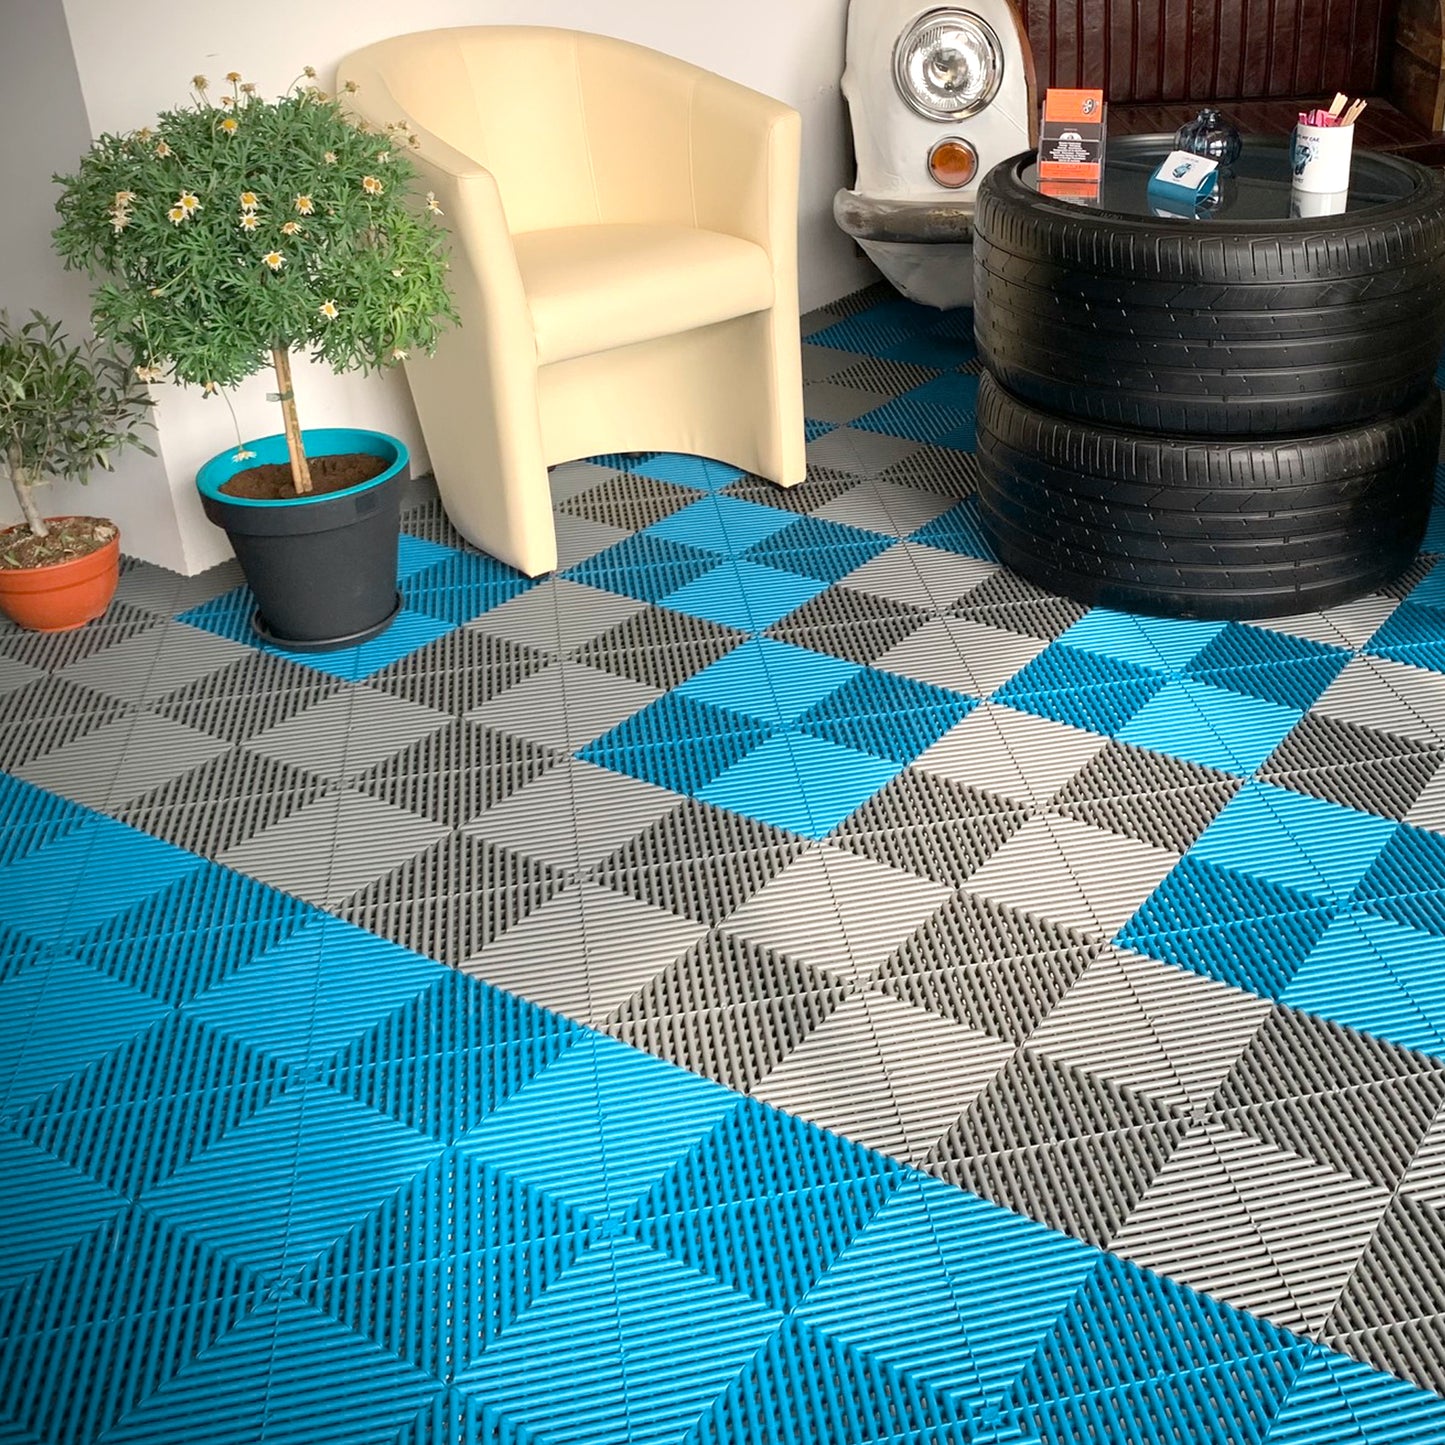
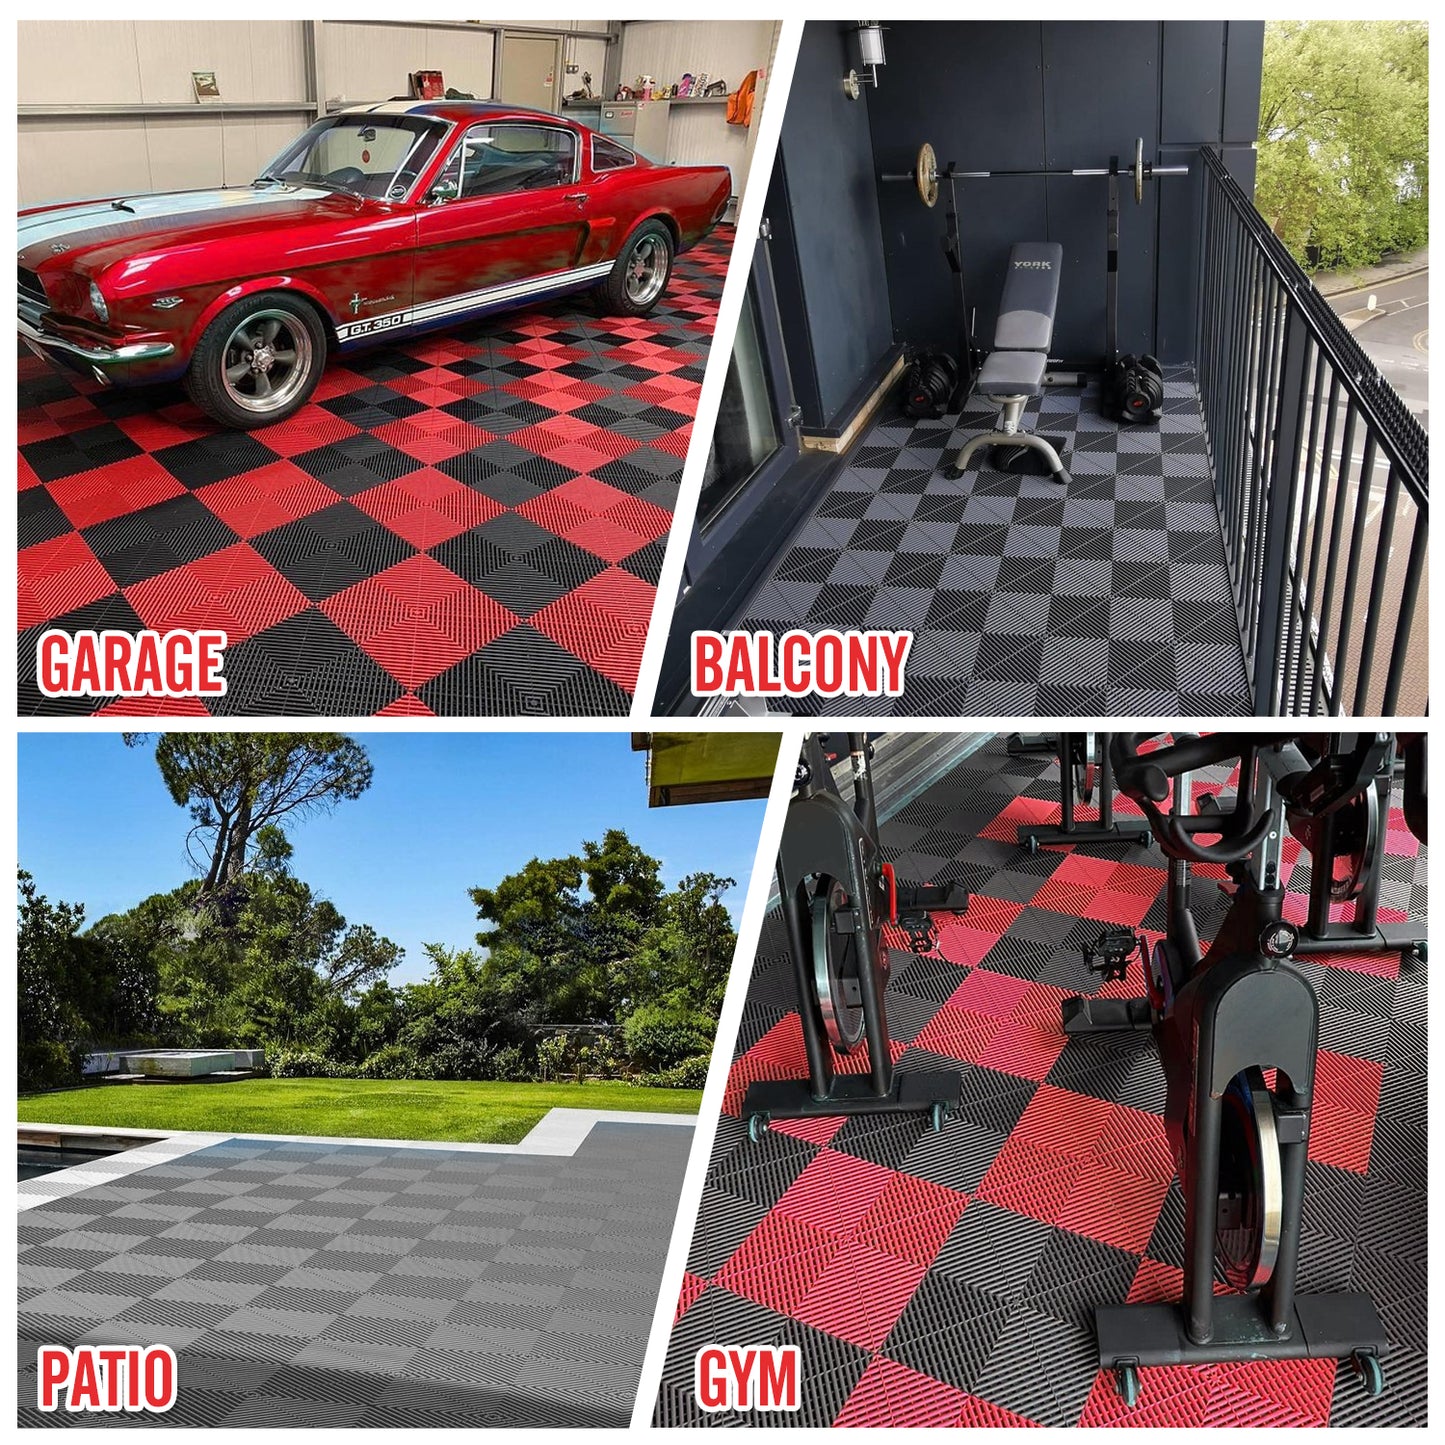
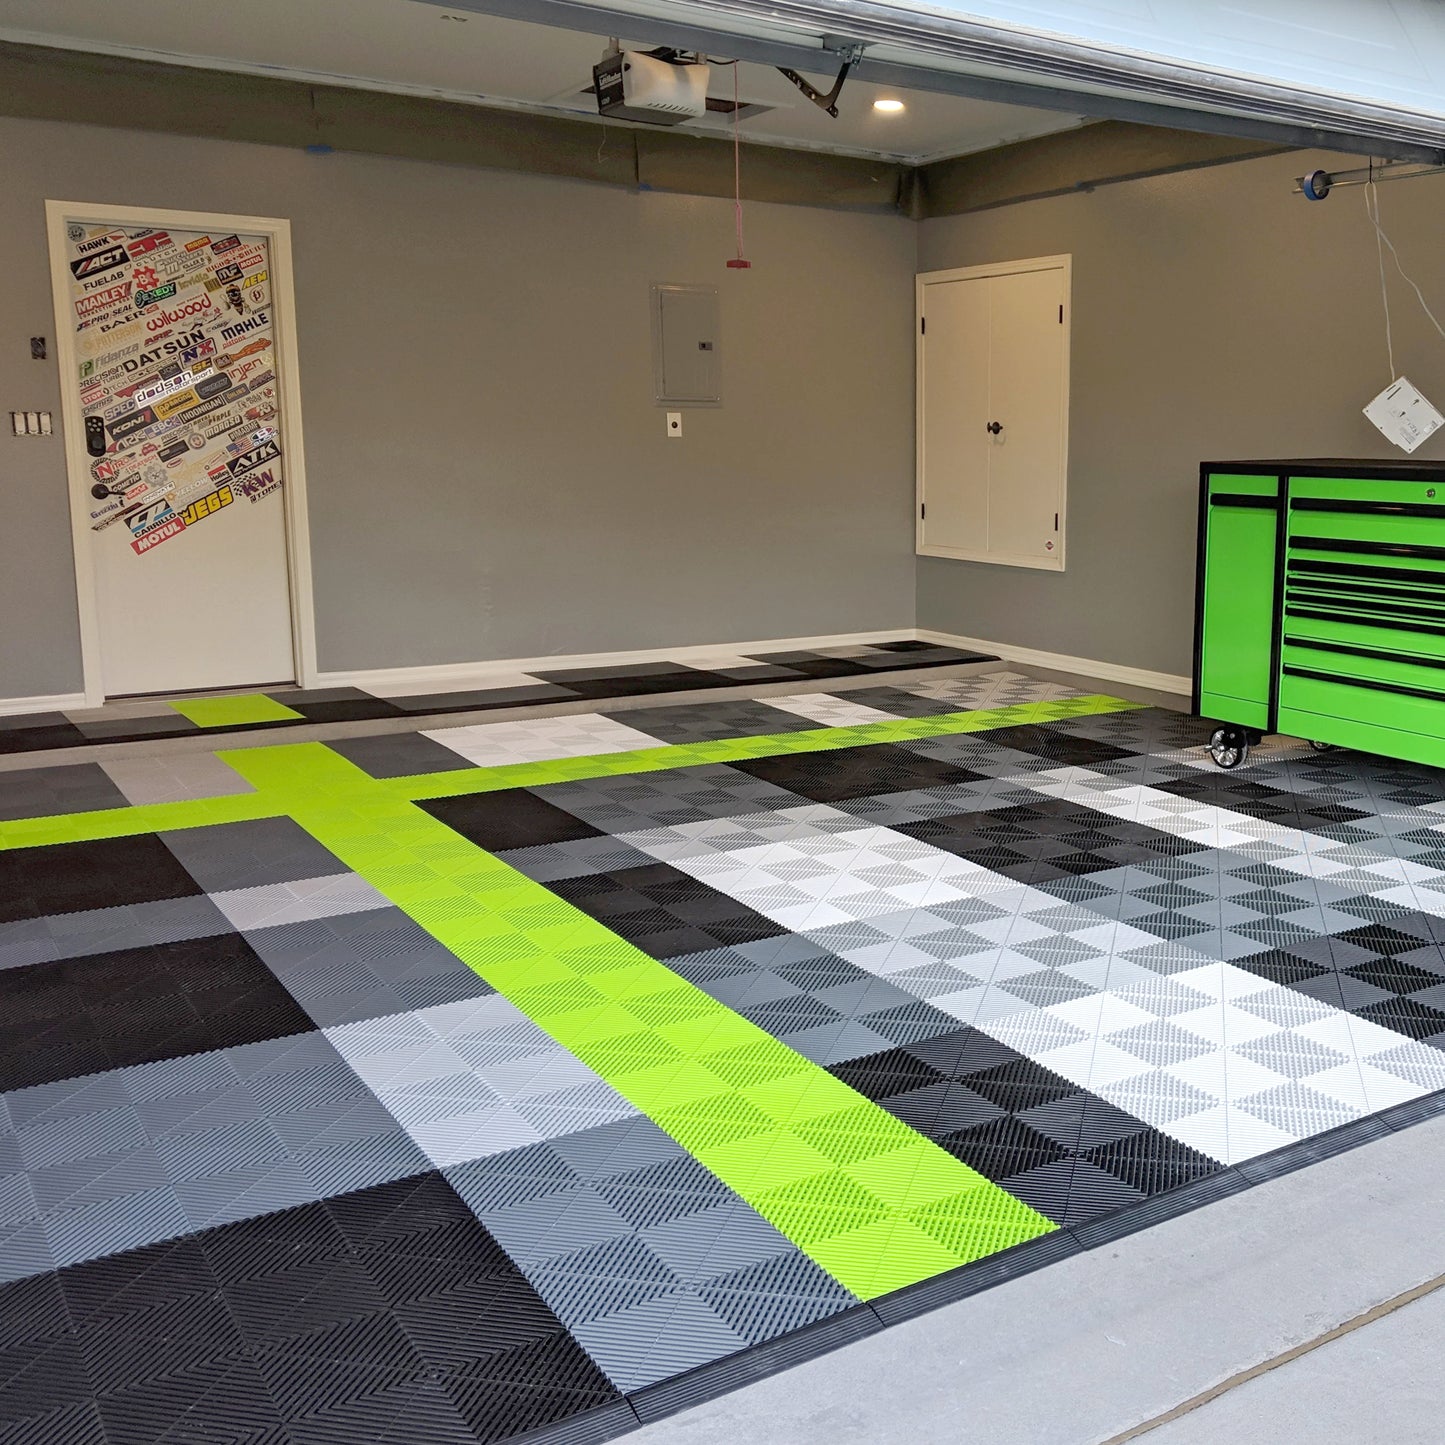
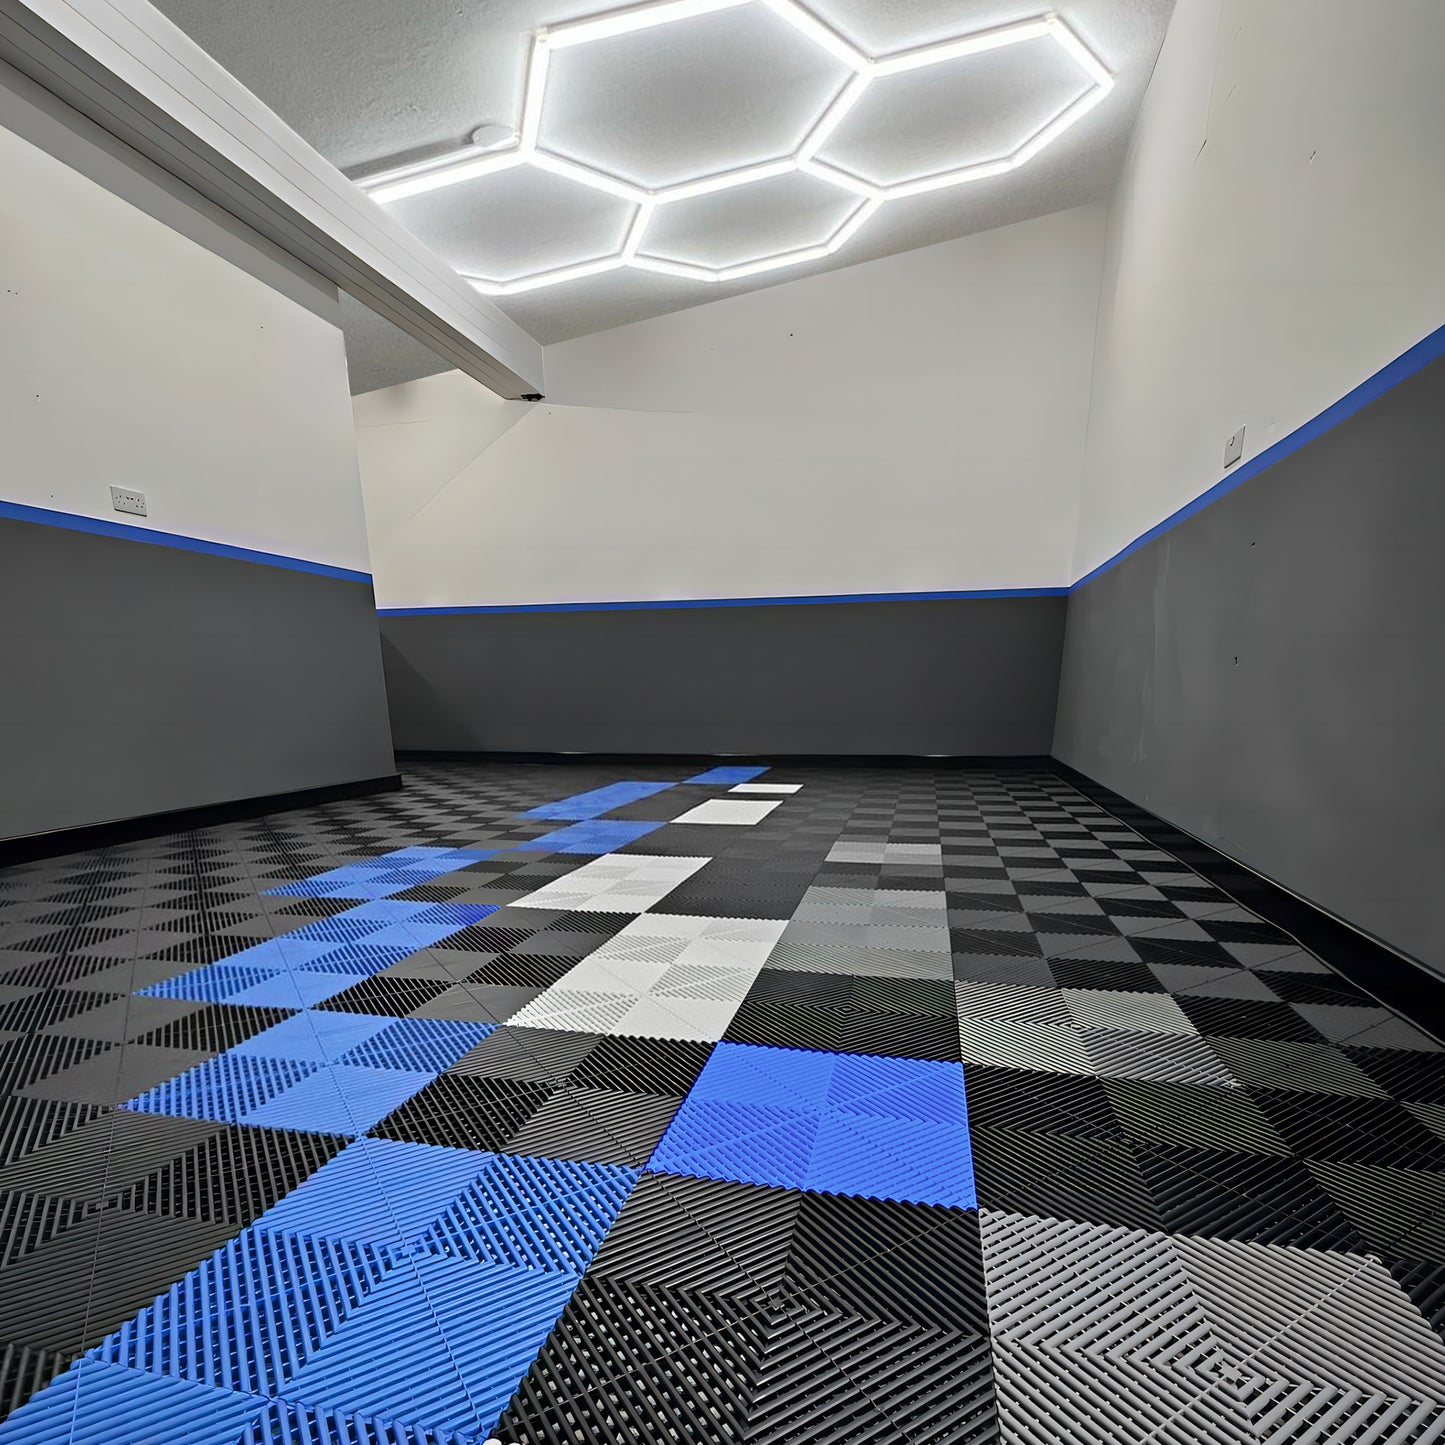
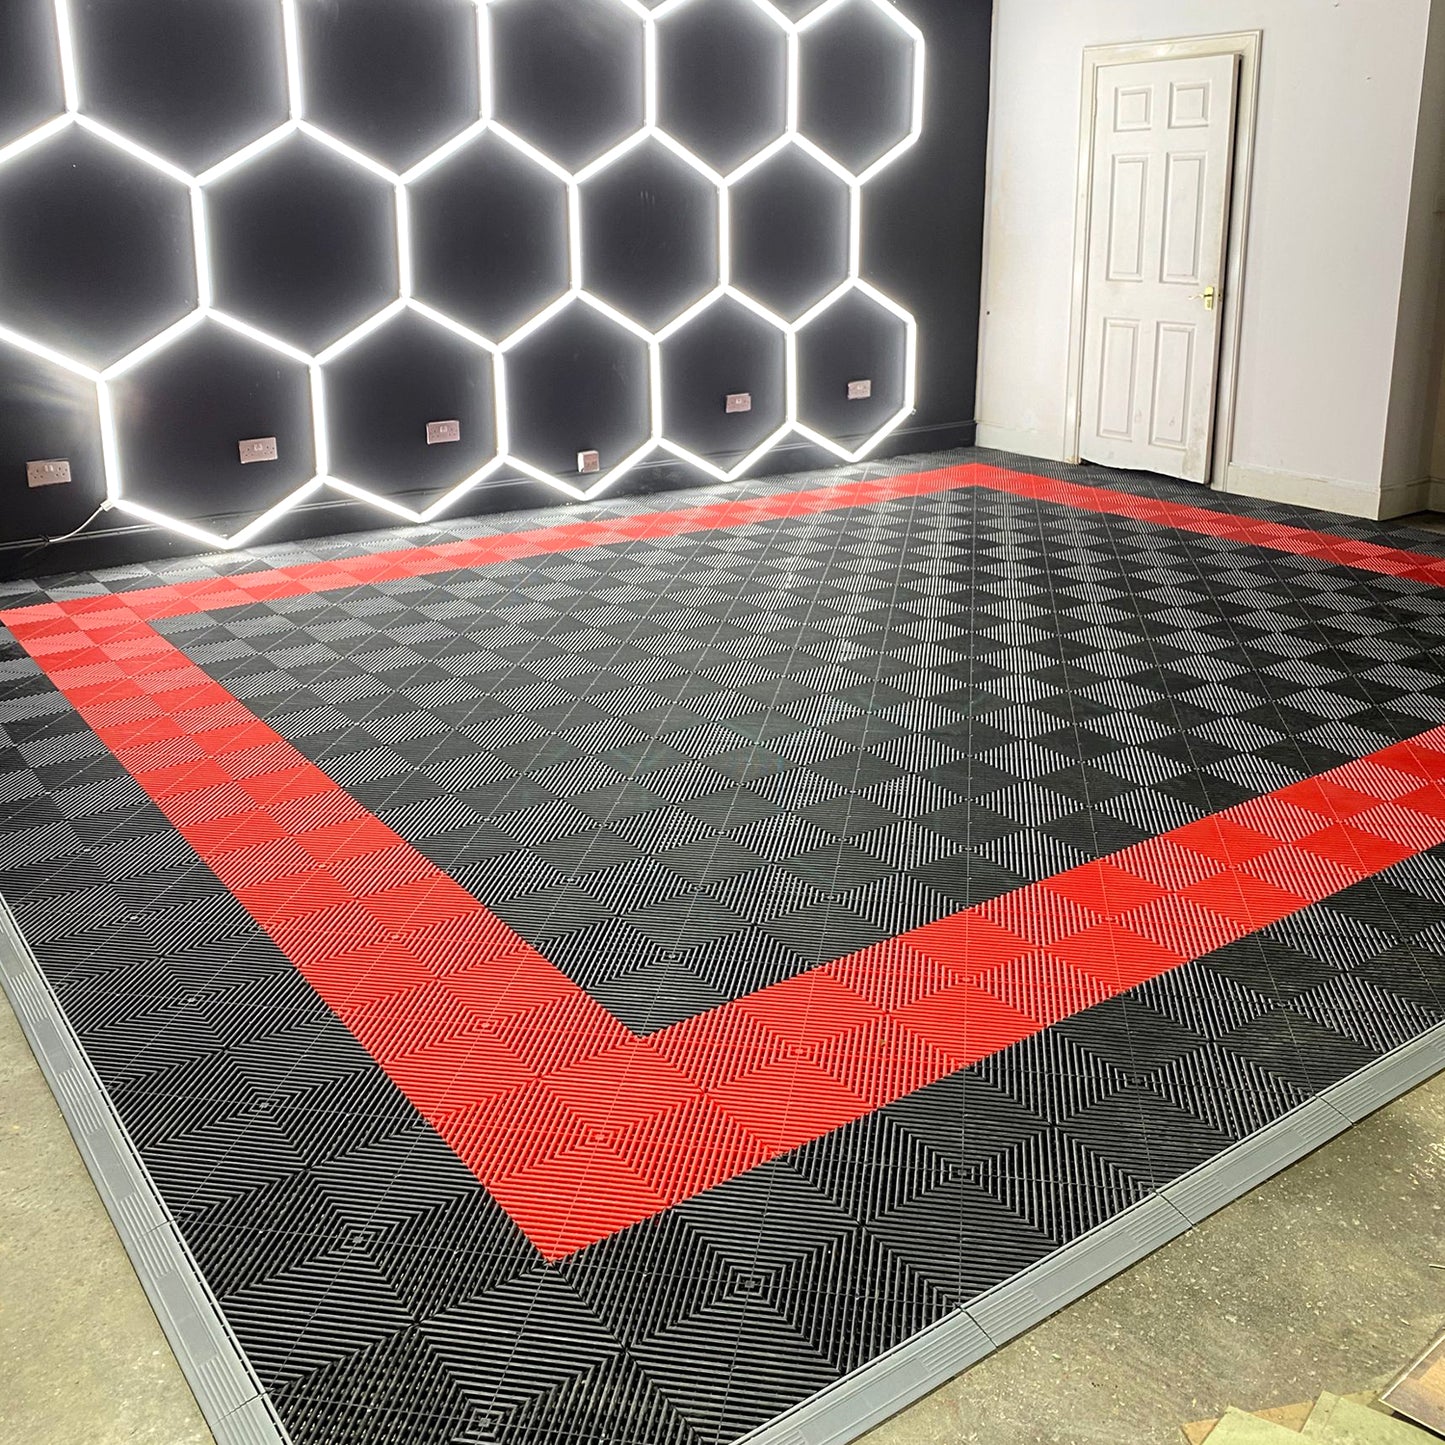
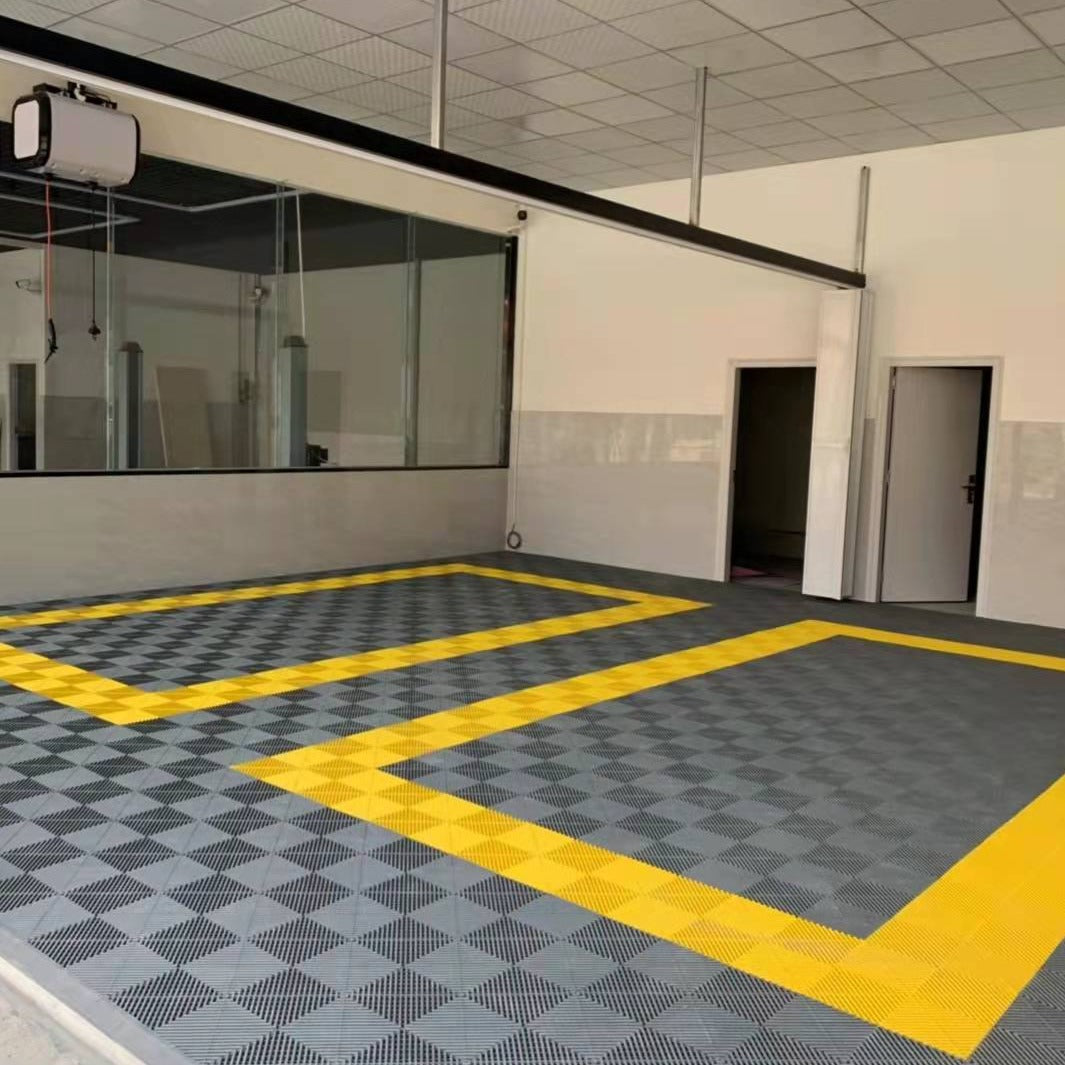
💡  If using different colors or patterns (e.g. checkerboard), plan this out in advance. See here for installation guide and design ideas or request a free flooring design

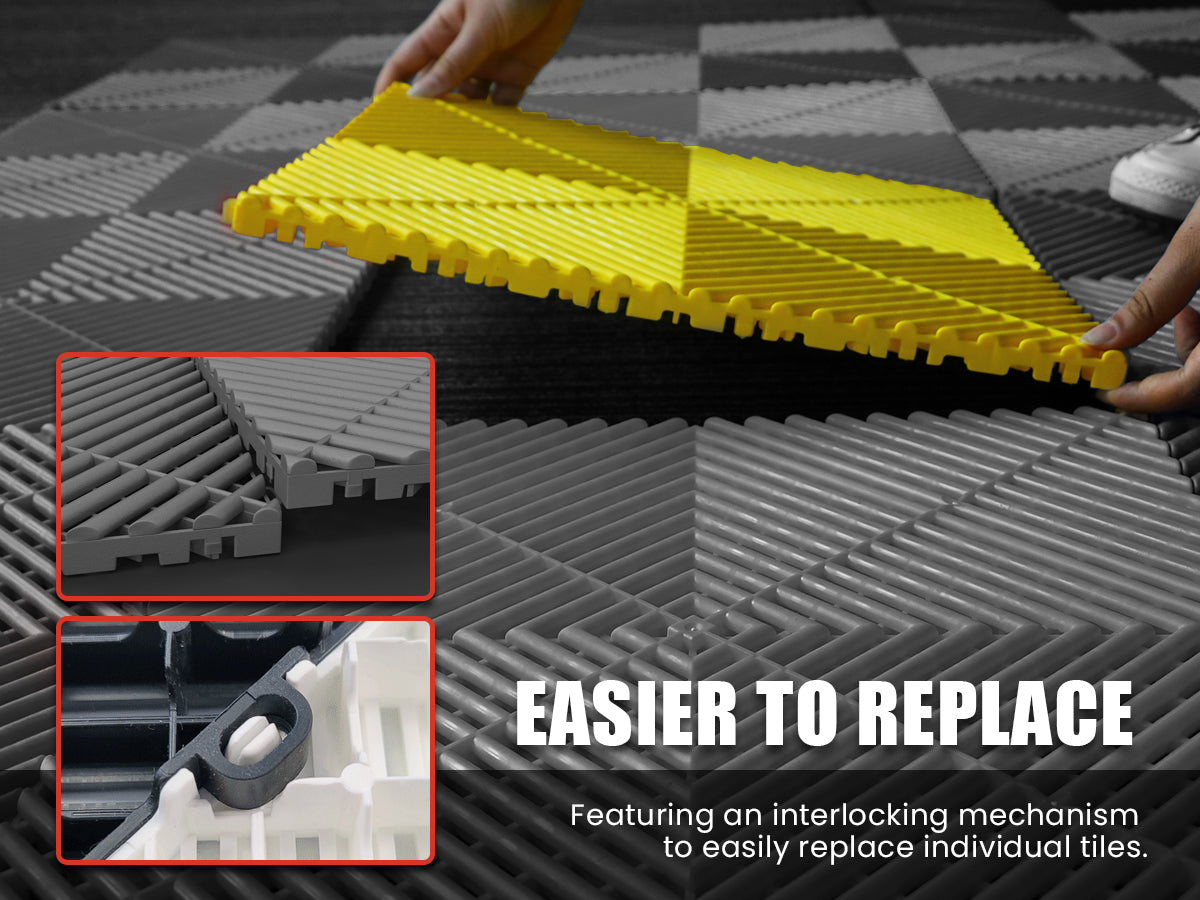
3. Begin Installing Tiles

  • Start in one corner and work your way out.
  • Align the tiles so the interlocking edges snap together.
  • Press tiles down firmly or tap lightly with a rubber mallet to lock them in place.

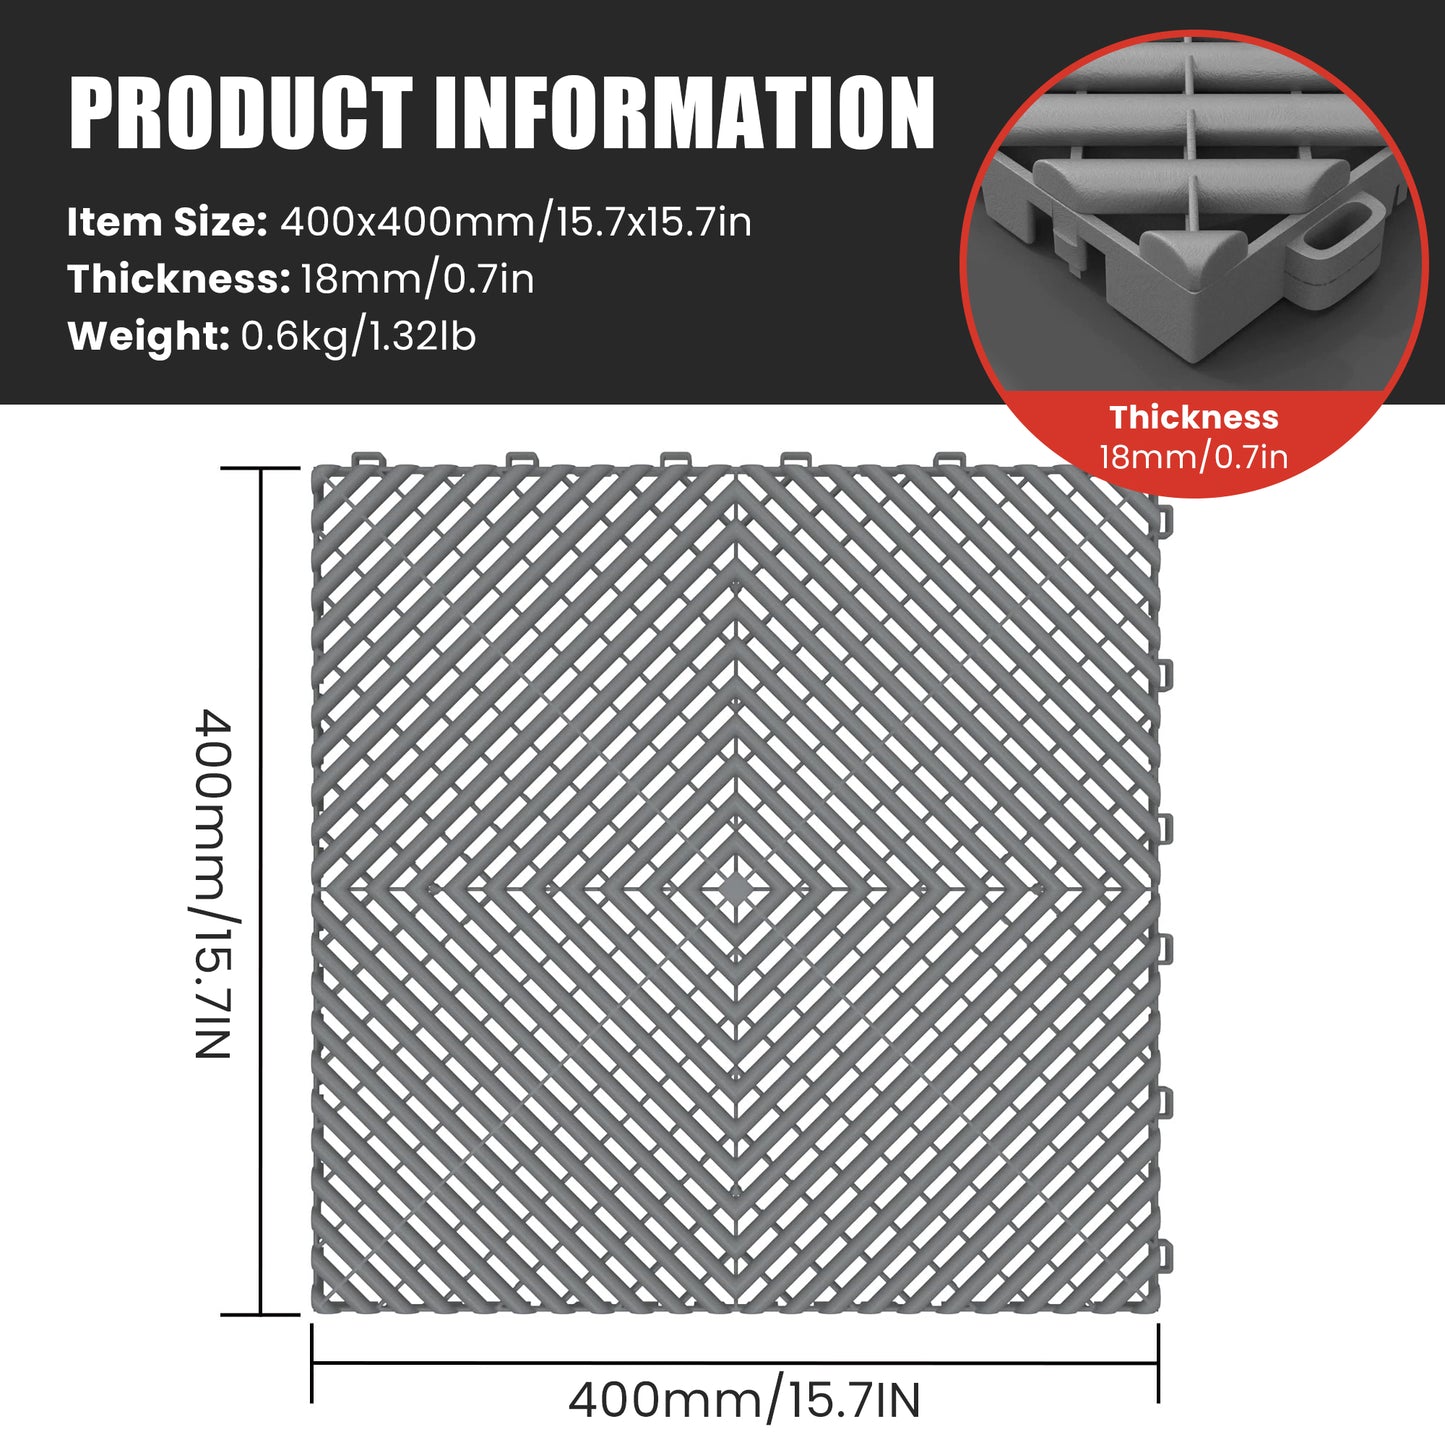
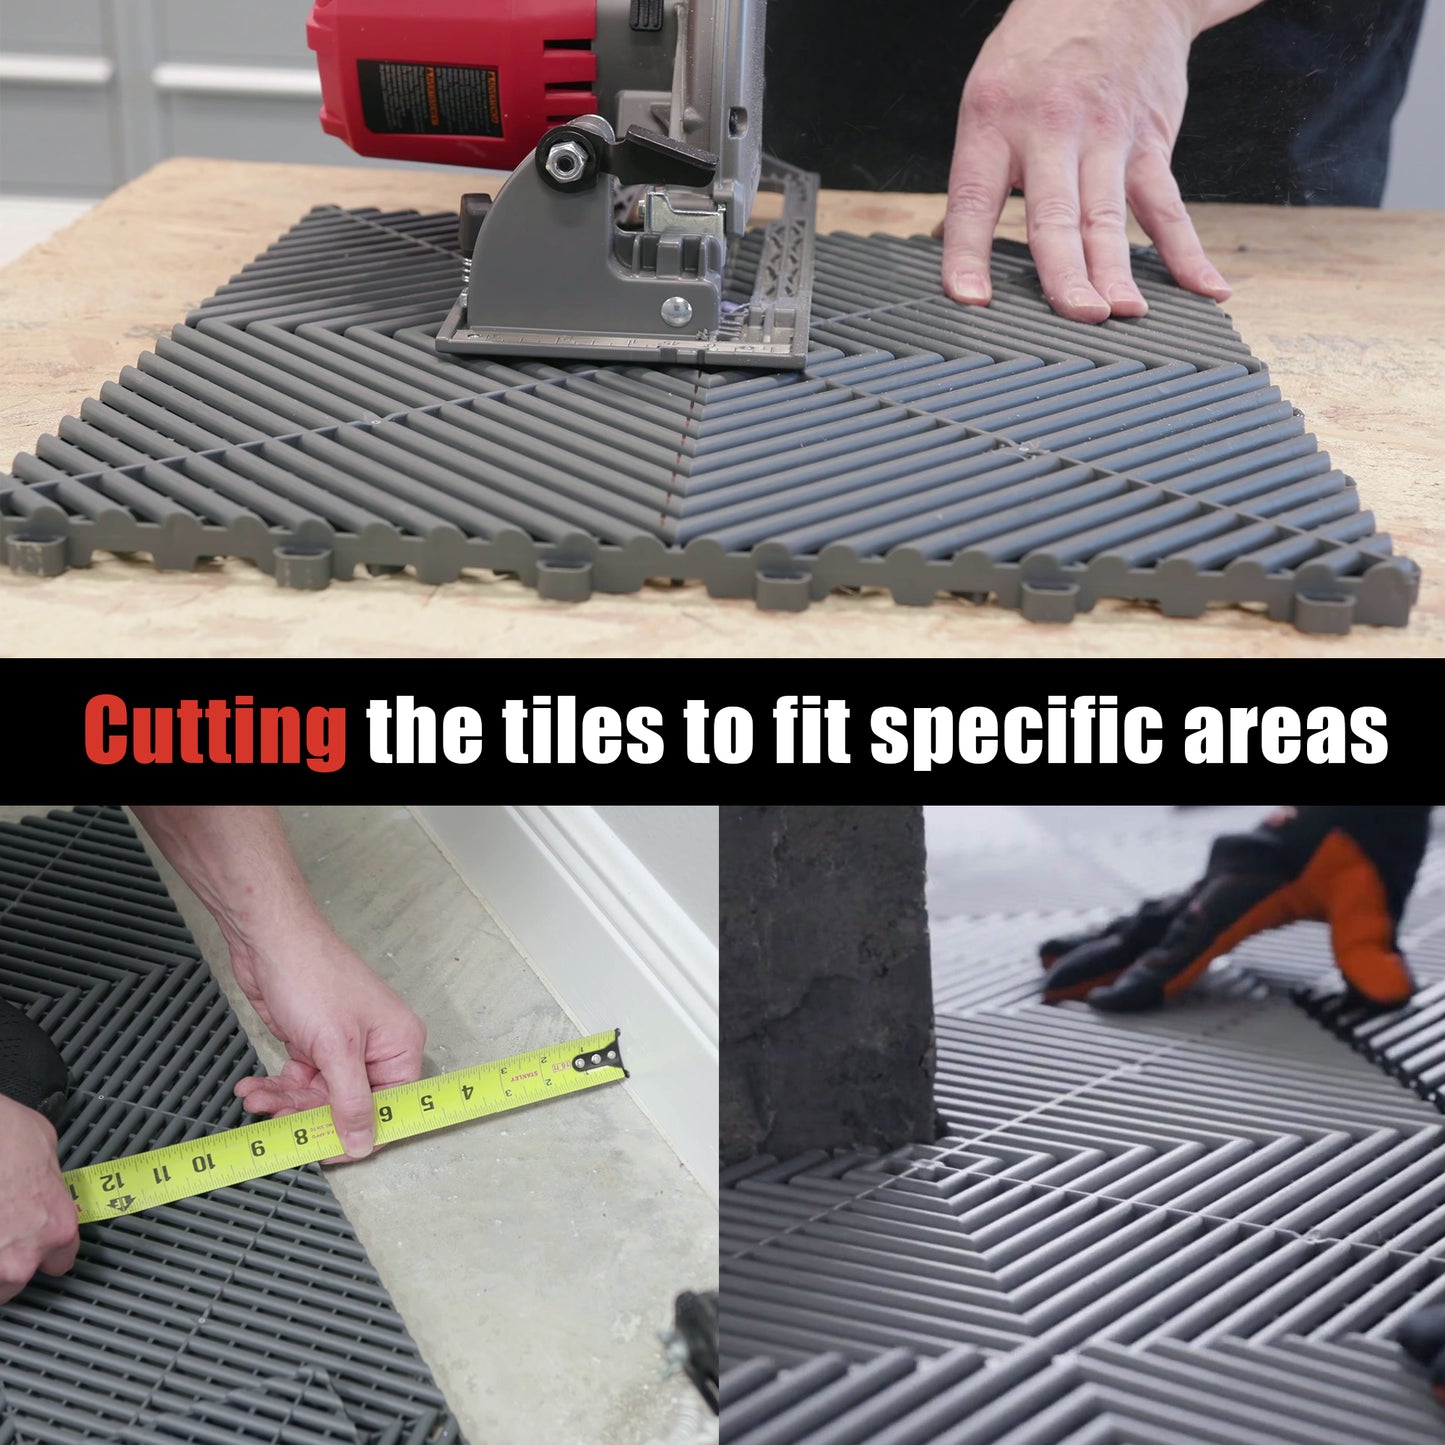
4. Cut Edge Tiles to Fit

  • When you reach walls, use a fine-tooth blade to trim tiles for a snug fit.
  • Leave a small gap (~¼”) between the tiles and wall to allow for expansion.

5. Install Edge Ramps (Optional and not included)

  • Many tile systems offer sloped edges for the front of the garage.
  • These ramps improve aesthetics and allow smoother car entry.

6. Final Checks

  • Walk over the whole floor to ensure all tiles are securely snapped.
  • Wipe or clean any marks from handling or cutting.

🧽  Maintenance Tips

  • Sweep or vacuum regularly to keep debris from collecting in seams.
  • For deeper cleaning, remove tiles if needed or use a damp mop.

🕒  Time Estimate

• 1-car garage: 1-3 hours

 • 2-car garage: 2-6 hours (depending on trimming and layout complexity)

Color
View full details